PRO Crystal Clear Resin – Ultimate Clarity and Transparency.
Discover the ultimate clarity of Monocure3D’s Crystal Clear resin, a popular member of our PRO range. This advanced resin formulation is designed for those who seek a perfect blend of strength and crystal-clear transparency in their 3D prints. It’s so just clear, it’s a vision of purity, precision and strength in resin form.
Key Features
Exceptional Tensile Strength: Our PRO Crystal Clear resin boasts incredibly high tensile strength, ensuring that your prints are not only visually stunning but also robust and resilient.
Non-Yellowing for Ultimate Clarity: The resin is engineered with non-yellowing properties, preserving the high level of transparency and clarity through the printed model, even over time.
Optimized for Post-Curing: To maintain utmost clarity, use low-powered 405nm LED UV lights for post-curing. This careful process helps keep the model as transparent as possible, mirroring the purity of glass.
Achieve Glass-like Finish: Applying a clear coat or polishing once post-cured will make your model fully transparent, with a glass-like appearance, enhancing both its aesthetic and functional qualities.
Versatile Printing Capabilities: Suitable for a wide range of applications, from intricate models to robust functional parts, this resin is compatible with layer heights from 10 to 100 microns, catering to various printing needs.
LCD Screen Friendly: As part of our commitment to the longevity of your equipment, our PRO Crystal Clear resin is formulated to be gentle on LCD screens, ensuring sustainable printing practices.
Tuning to Perfection: To achieve optimal results, we recommend visiting our printer settings page. Here, you’ll find comprehensive guidance to finely tune your printer for use with our resin, ensuring you get the best out of every print. If you need further assistance, please contact us through our support page or you can sign up to our Facebook Users Group and get instant help.
Proudly Australian Made & Guaranteed: All our resins are expertly developed and manufactured in Australia, embodying our commitment to high-quality, constancy and trust. Our experienced chemists ensure each product meets rigorous standards.
The Monocure3D PRO Crystal Clear resin is more than another clear 3D printing resin, it’s clarity and quality with amaze you. Ideal for professionals and enthusiasts alike, this resin allows for 3D prints that are more than just models, but showcases of transparent beauty and strength.
Step into a world of crystal-clear possibilities with Monocure3D PRO Crystal Clear resin – where every print is a clear masterpiece.
General Directions
- Ensure surfaces and perfectly leveled. The smallest of tilt on the build plate can allow the corners of the model/raft curl off the plate.
- Ensure the build plate is clean and free of dust or parts of a previous model.
- Ensure the vat has zero resin around the edge from a previous coloured resin. This can mix with Crystal Clear and taint the clarity of the model.
- Shake the bottle for at least 30sec for 1L bottles and 1min for 5L bottles.
- When pouring into the vat you will notice very small bubbles suspended in the resin. Please allow about 20min for these to raise to the surface and then use a heat source (small butane torch or heat gun) to quickly pass over the surface to remove all surface bubbles.
- On monochrome LCD based printers with short exposure times start by adding 1sec on top of the Rapid / Tuff normal layer times you would normally use. This could end up being about 18s-22s x 4 base layers and then 2-3s normal layers.
- On RGB LCD based printers add about 2s to the regular layer cure times. Typically 60s x 4 base layers and then 6-7s normal layers.
- If your printer supports reducing the power of the UV LED array try setting the power to 50%. Low and Slow will help prevent any yellowing of the model
- Use a calibration model to help dial in the perfect base and normal exposure times (https://monocure3d.com/pages/calibration-models)
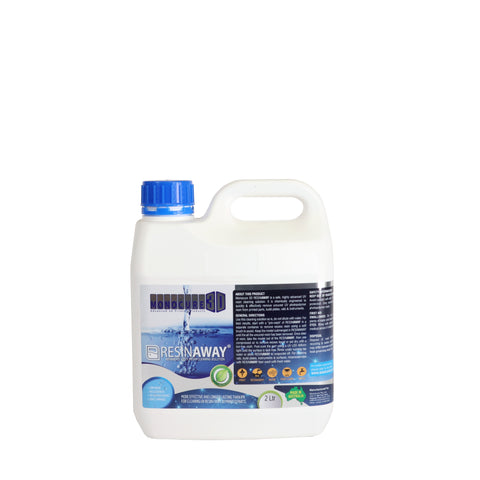
- After the model has finished printing, clean the model in either Resinaway or IPA for no more that 5min (scrub by had with a soft brush and/or use an ultrasonic cleaner). Try to get into all the smallest of crevices. Follow up with a quick rinse under running water and then dry the model thoroughly with compressed air. This then allows you to see if there is any residual uncured resin on the model. If you see any, follow up with a small squirt of IPA, soak 1min and then blow the IPA off the model to see if the surface is then nice and clean.
- Once you are 100% convinced the model has zero uncured resin on the surface please use a low powered 405nm only UV light source (10-20W) and post cure for no more than 10min. If you do not have a low powered UV light source you can place the model in the shade (NO direct sunlight) and let it cure for 10-30min.
- If you notice any yellowing of the model, don’t worry, the yellowing will fade over a week or two back to a perfectly neutral clear. If you don’t want the model to go yellow in the sun, spray the post cured model with a UV blocking clear coat.
- To achieve a glassy surface, if the model has a lot of large flat areas you could just sand and polish it OR if the model has a complex surface just coat with a clear gloss acrylic spray paint (avoid drips).
Do's and Don'ts
Do’s :
- Always shake the bottle before pouring from it.
- Always make sure the printer build surface is perfectly level.
- Always make sure there is no colored/white/gray resin left in the vat.
- Always use a 405nm UV post curing light source less than 20W. Low and Slow.
- Always ensure the surface of the model is 100% clear of uncured resin before curing.
Don’ts :
- Don’t post cure in a strong UV light source, particularly the sun.
- Don’t use a curing station that uses anything but 405nm LED’s.
- Don’t mix Crystal Clear with any other resins unless you want to change the color of the model.
- Don’t leave any cleaning fluids on the surface when curing.


